
Many vehicle owners notice sagging or detached headliners caused by heat, UV exposure, foam degradation, moisture, age, or poor installation. Passenger cars, light commercial vehicles, and heavy commercial vehicles often require headliner replacement. Beginners can achieve this task at home with patience, basic tools, and a few hours of dedicated effort. DIY replacement offers cost savings and allows for custom choices, especially when using quality materials like Faux Leathers‘ Upholstery-Waterproof-Synthetic. Careful removal, cleaning, and installation help restore the look and function of automotive headliner fabric. Following each step ensures a smooth process and satisfying results.
Beginners Guide to Replacing Automotive Headliner Fabric at Home
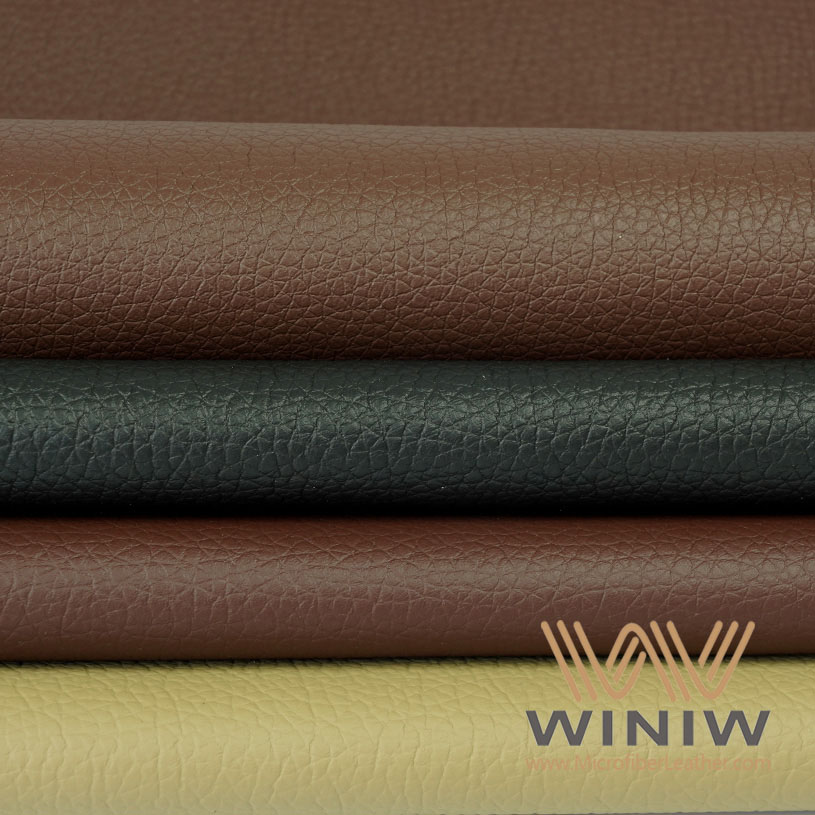
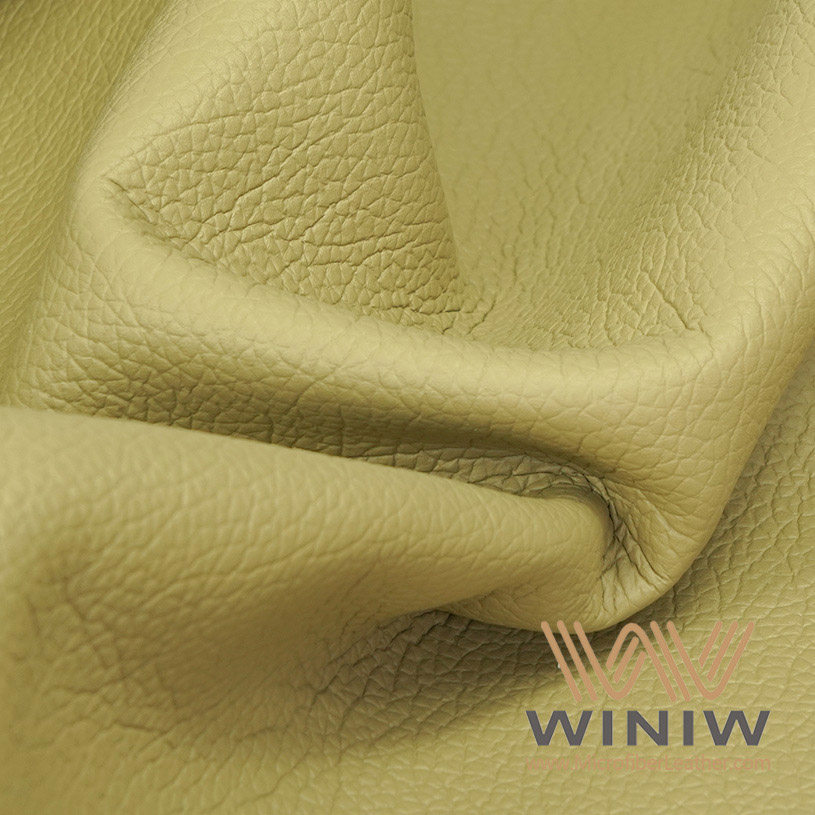
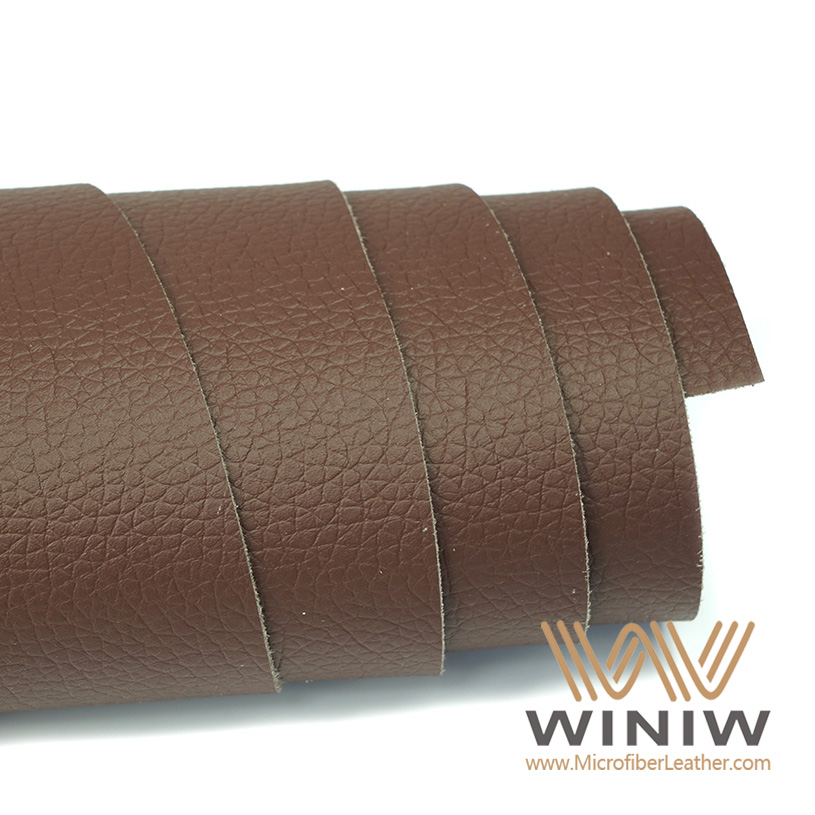
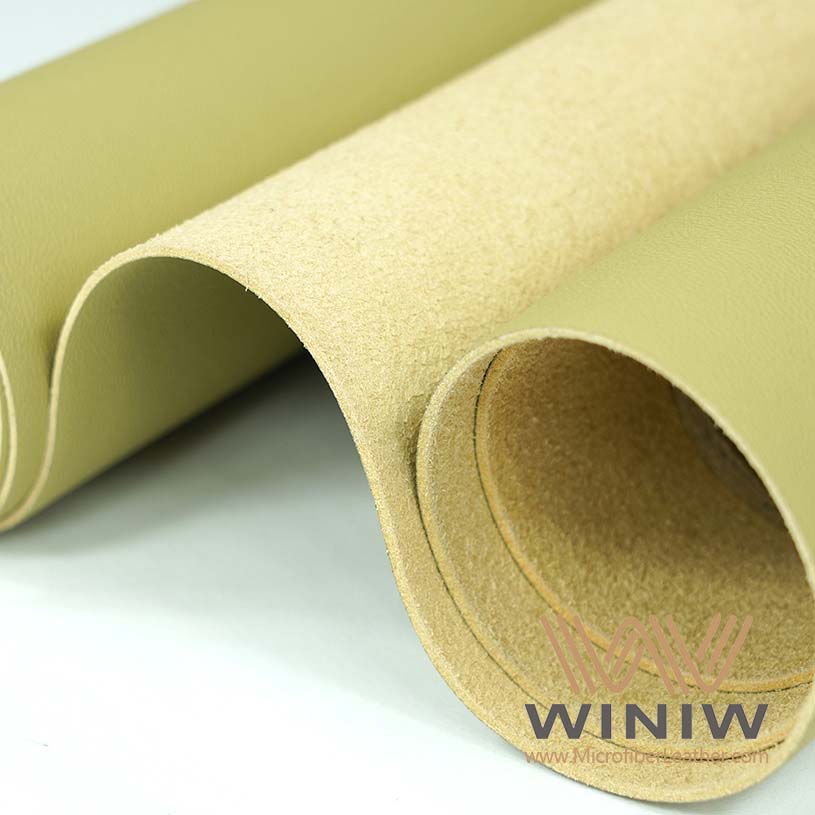
- Replacing a sagging headliner can save money and allow for customization. Choose quality materials like Faux Leathers Upholstery-Waterproof-Synthetic for the best results.
- Gather essential tools before starting. You will need screwdrivers, a utility knife, spray adhesive, and safety gear to ensure a smooth process.
- Prepare your workspace carefully. A clean area protects your vehicle and helps you stay organized during the project.
- Safety is crucial. Always wear goggles and gloves, and disconnect the car battery to avoid accidents while working.
- Remove the old headliner fabric carefully. Take your time to avoid damaging the headliner board and ensure a clean surface for the new fabric.
- Cut and fit the new fabric accurately. Measure twice and cut once to avoid wasting material and ensure a professional look.
- Apply adhesive evenly and allow it to become tacky before attaching the fabric. This step helps create a strong bond that lasts.
- Perform a final check after installation. Inspect for wrinkles, ensure everything is secure, and test all functions to confirm a successful replacement.
Tools and Materials
Essential Tools
Replacing automotive headliner fabric requires several basic tools. Beginners should gather these items before starting the project:
- Screwdrivers (Phillips and flathead)
- Socket wrench set
- Utility knife or sharp scissors
- Wire brush or sandpaper
- Spray adhesive (high-temperature recommended)
- Measuring tape
- Safety goggles and gloves
- Clean cloths or towels
Each tool serves a specific purpose. Screwdrivers and wrenches help remove trim and accessories. A utility knife or scissors cut the new fabric to size. Wire brushes or sandpaper clean the headliner board. Spray adhesive secures the new material. Measuring tape ensures accurate cuts. Safety gear protects hands and eyes during the process. Clean cloths keep the workspace tidy.
Recommended Materials
Automotive upholstery professionals recommend several types of headliner fabric. The following table compares popular options:
| Material | Benefits |
|---|---|
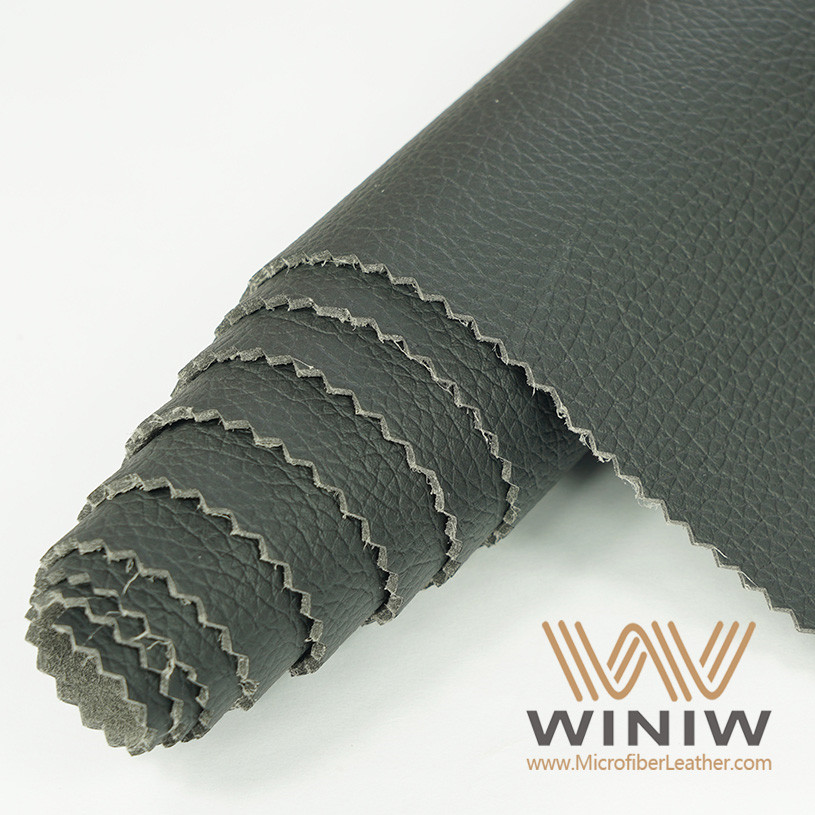
| Automotive headliner fabric | Lightweight, thin, durable, moisture-resistant |
| Foam-backed vinyl | Provides cushioning, conceals imperfections |
| Carpet-style headliner | Durable, stain-, mold-, and mildew-resistant |
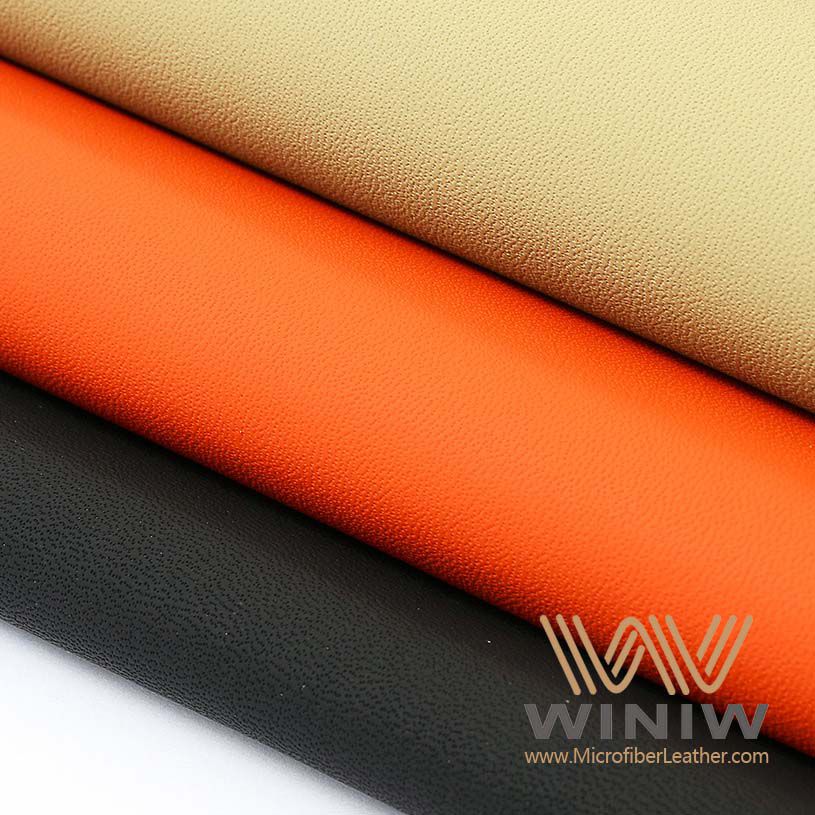
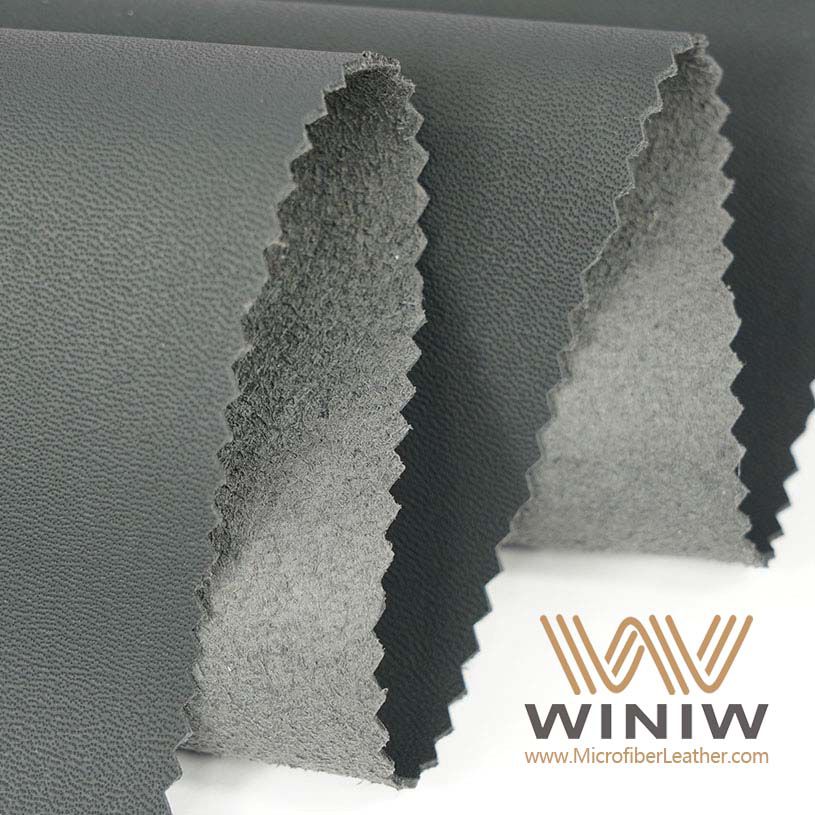
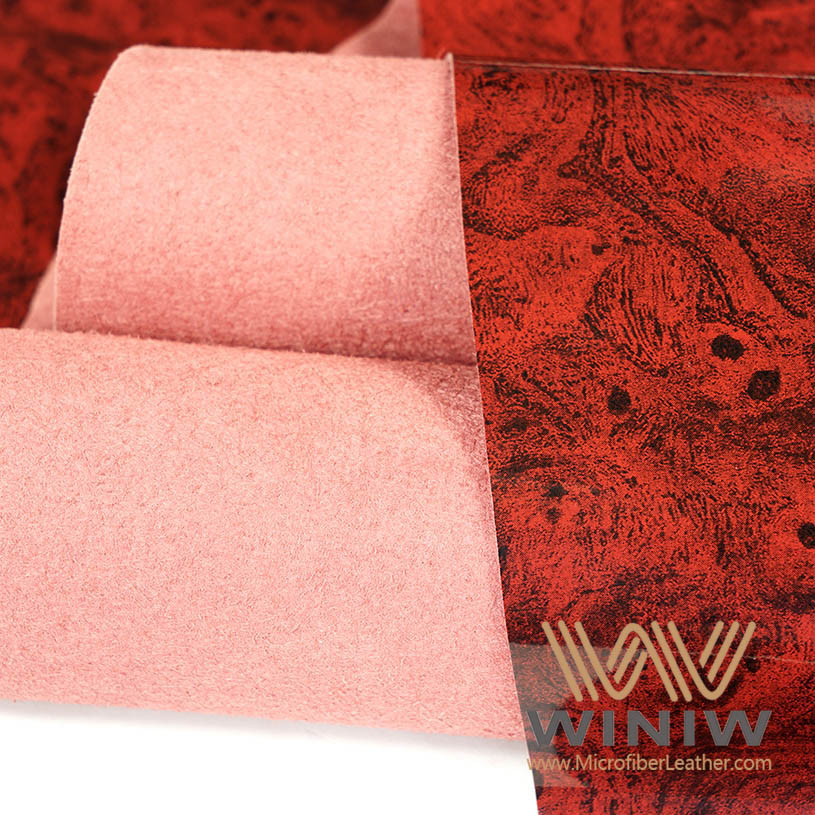
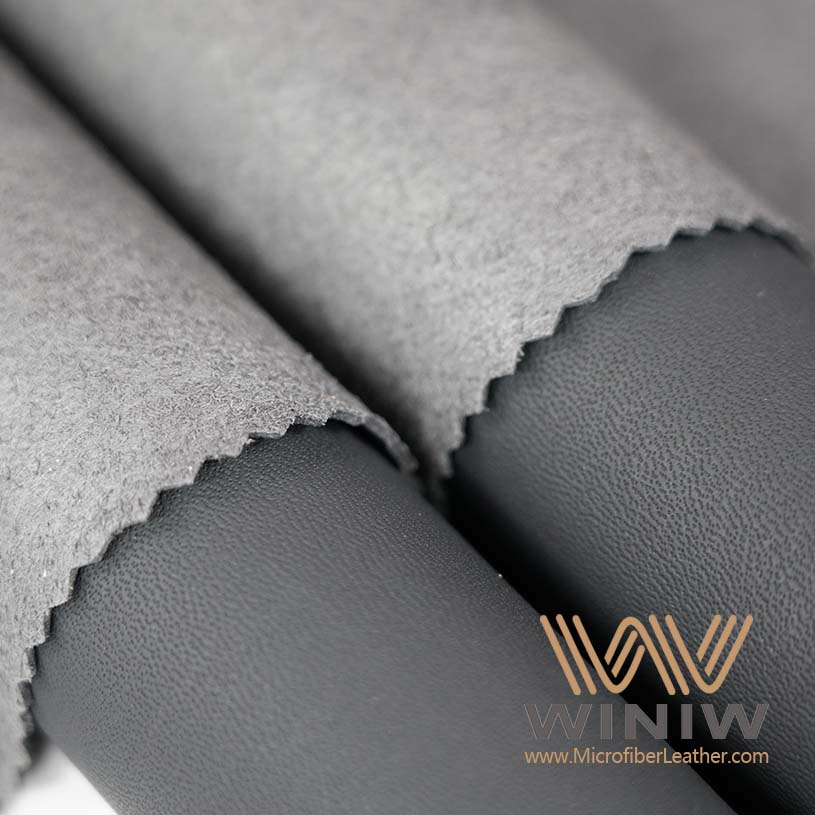
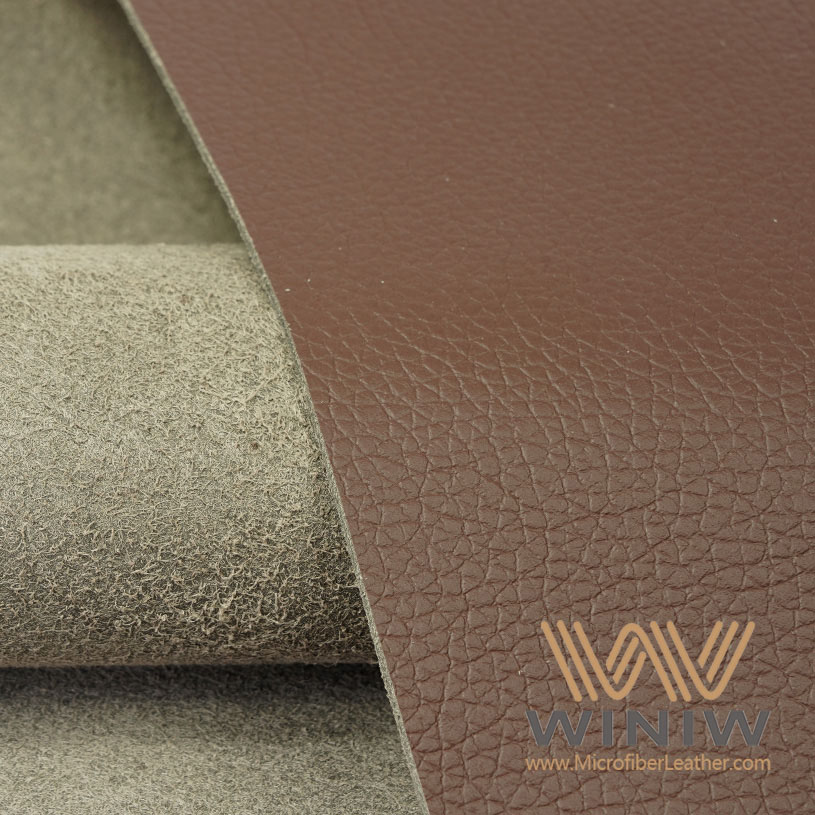
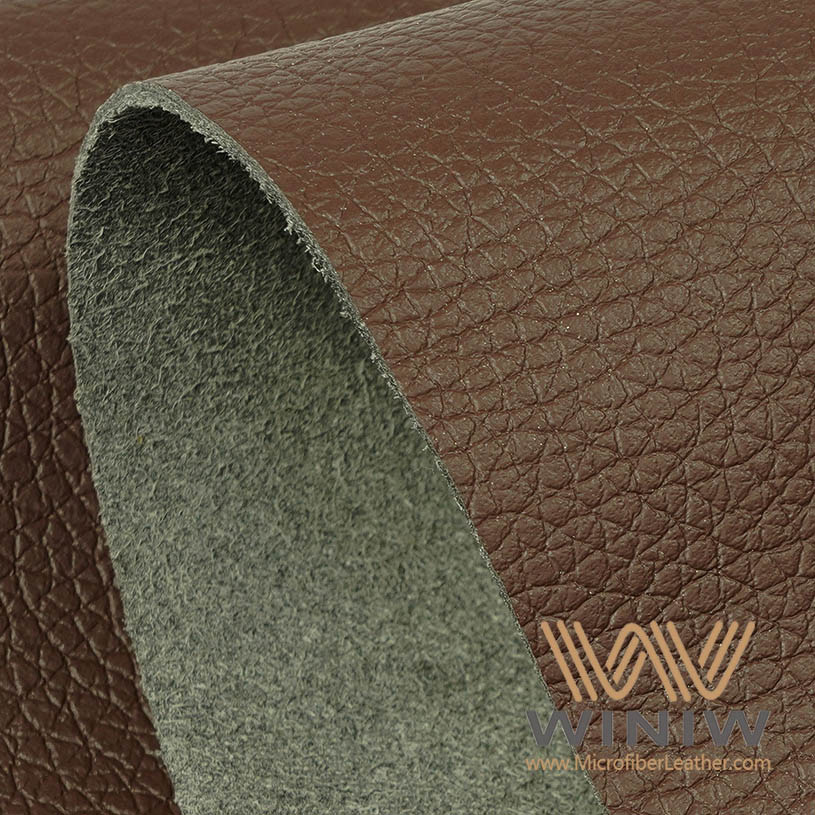
| Faux Leather | Durable, easy to clean, cost-effective, available in many colors/styles |
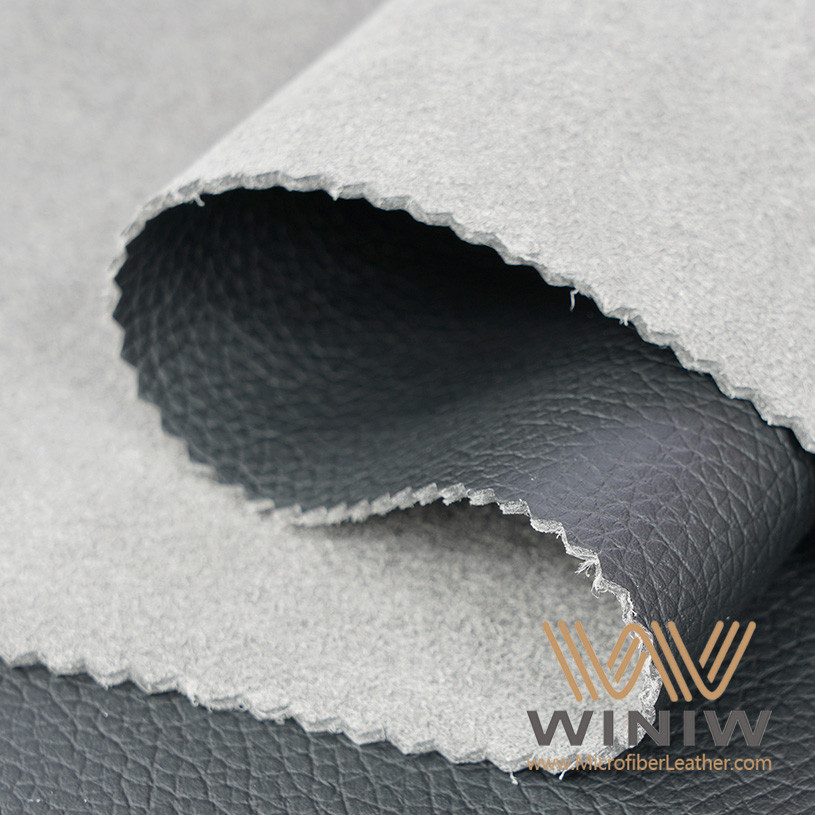
Automotive headliner fabric remains a popular choice due to its lightweight and moisture-resistant qualities. Foam-backed vinyl offers extra cushioning and hides surface flaws. Carpet-style headliner provides durability and resists stains, mold, and mildew. Faux leather stands out for its durability, easy cleaning, and cost savings. PU leather also offers water resistance and simple maintenance.
Tip: Always select a material that matches the vehicles interior and meets durability needs.
Why Choose Faux Leathers Upholstery-Waterproof-Synthetic
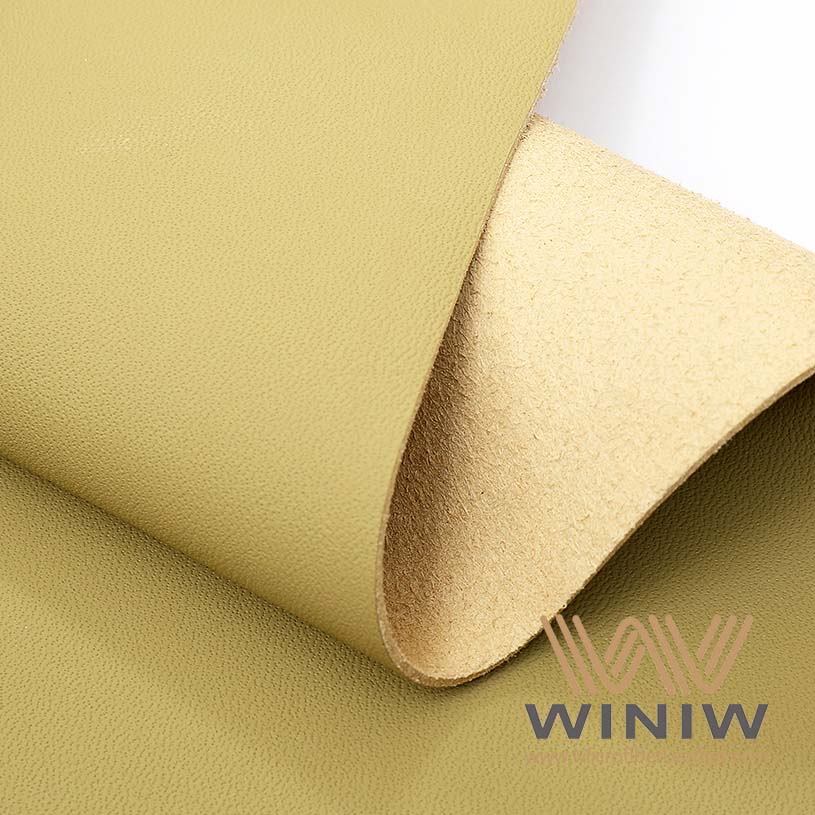
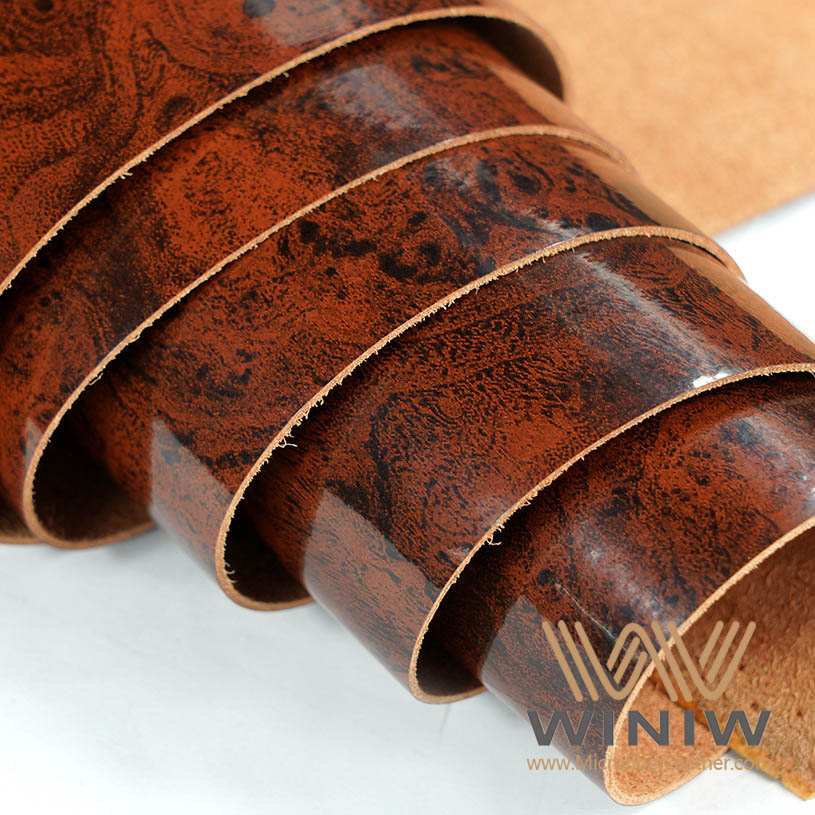
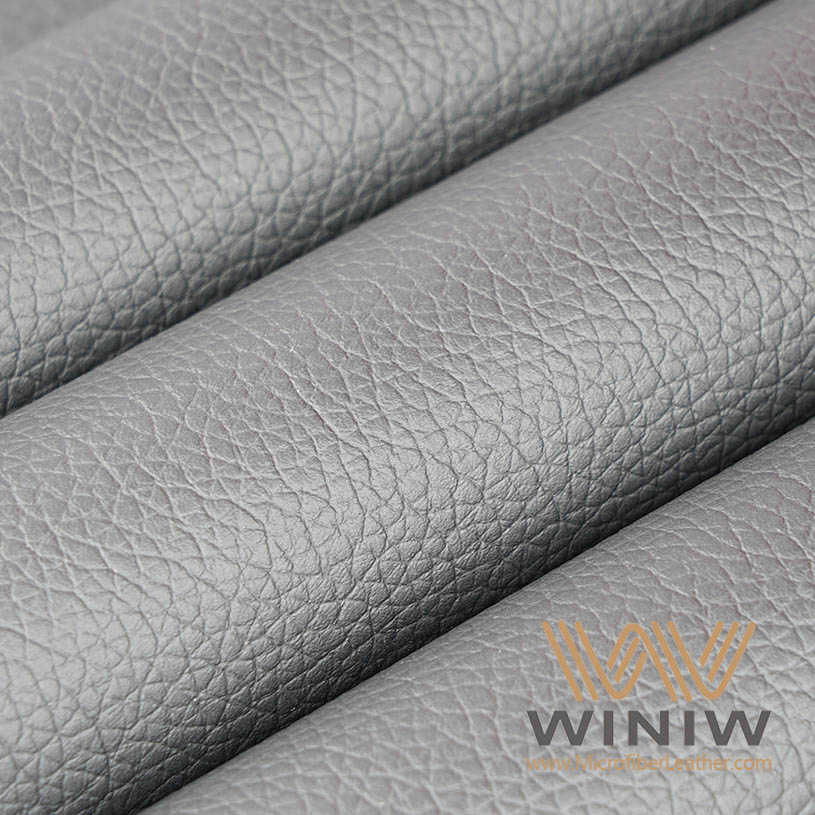
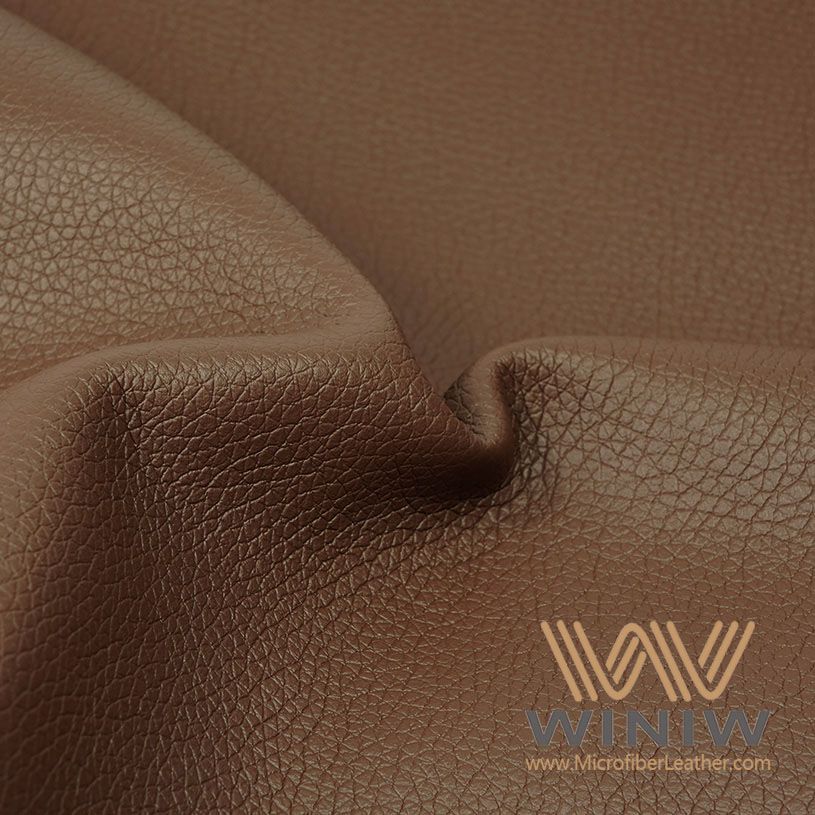
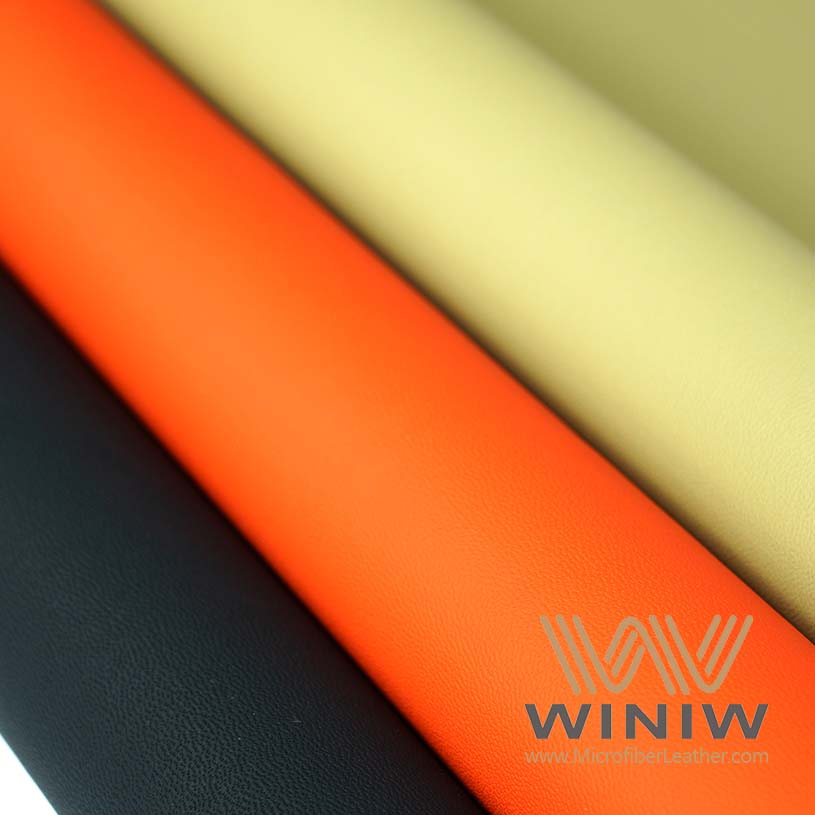
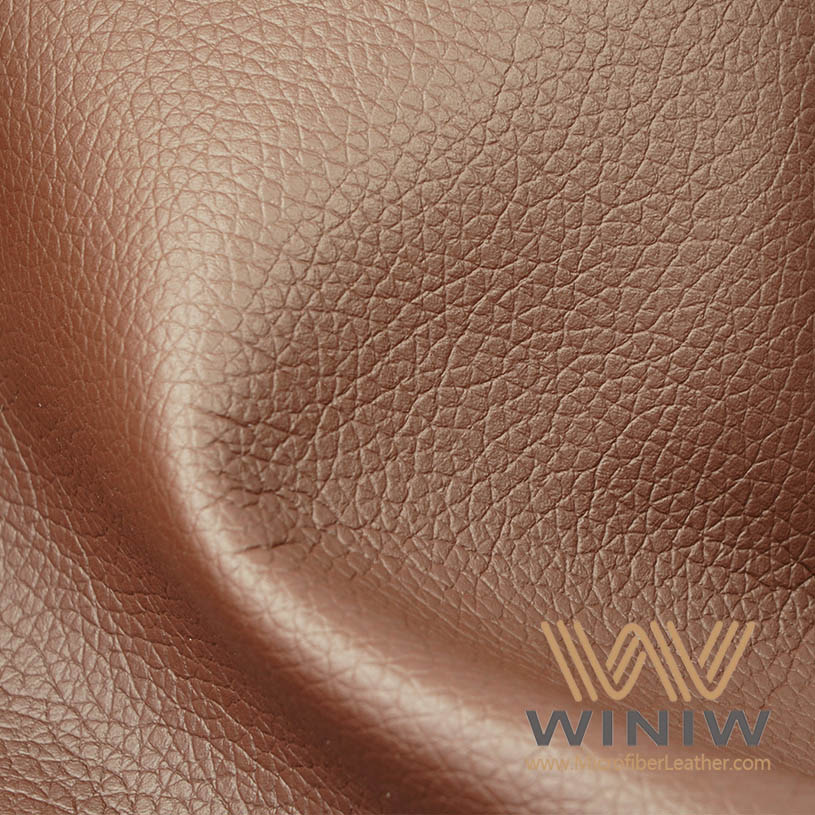
Faux Leathers Upholstery-Waterproof-Synthetic provides several advantages for automotive headliner replacement. The synthetic composition delivers strong water resistance, making it suitable for vehicles exposed to moisture. The material resists stains and cleans easily with a damp cloth. Faux leather costs up to 75% less than genuine leather, offering significant savings for DIY projects. The fabric comes in a wide range of colors and patterns, allowing customization to match any interior style.
Faux Leathers product maintains its appearance over time and withstands regular use. The breathable design ensures comfort without sacrificing durability. UV resistance protects the fabric from fading, even in vehicles parked outdoors. The lightweight yet robust construction simplifies installation and reduces strain on the headliner board.
Note: Faux Leathers Upholstery-Waterproof-Synthetic combines affordability, style, and performance, making it an excellent choice for beginners and experienced DIYers alike.
For more information about Faux Leathers products and solutions, visit Faux Leathers.
Prepare Your Workspace
Protect Interior
Vehicle owners often overlook the importance of workspace preparation before starting a headliner replacement. A well-organized area helps prevent mistakes and protects the cars interior. The following steps guide users through creating a safe and efficient workspace:
- Select a clean, spacious area that allows easy movement around the vehicle. A garage or driveway works well.
- Arrange all necessary tools, such as screwdrivers, trim removers, and clamps, within arms reach. This organization saves time and reduces frustration.
- Disconnect the car battery. This step disables electronic components and prevents accidental activation of airbags or lights.
- Remove any accessories or trim pieces with care. Specialized tools help avoid scratches or broken clips.
- Cover seats, dashboard, and other sensitive surfaces with drop cloths or blankets. These coverings shield the interior from dust, adhesive overspray, and accidental tool drops.
Tip: Regular workspace maintenance keeps tools clean and ready for future projects.
Protecting the interior requires attention to detail. Vehicle owners should inspect the workspace for sharp objects or debris that could damage upholstery. Drop cloths and blankets act as barriers against spills and scratches. Careful handling of trim and accessories prevents costly repairs. Choosing the right adhesive for the headliner material is essential. Not all glues work with every fabric, and the wrong type can cause stains or weaken the bond.
- Routine cleaning of the workspace reduces the risk of accidental damage.
- Selecting a suitable adhesive preserves the integrity of the headliner and interior surfaces.
Note: Faux Leathers Upholstery-Waterproof-Synthetic pairs well with high-temperature spray adhesives designed for automotive use.
Safety Tips
Safety remains a top priority during headliner replacement. Individuals should wear safety goggles and gloves to protect eyes and hands from dust, debris, and adhesive fumes. Disconnecting the battery eliminates the risk of electrical shock or accidental airbag deployment. Proper ventilation helps disperse adhesive fumes, especially when working with spray products.
Organizing tools and materials reduces the chance of trips or falls. Vehicle owners should avoid rushing the process. Slow, deliberate movements prevent mistakes and injuries. Reading product labels and instructions ensures correct usage of adhesives and fabrics.
Callout: Always keep a first aid kit nearby in case of minor cuts or scrapes.
By following these workspace and safety guidelines, individuals create an environment that supports a smooth, damage-free headliner replacement. Careful preparation leads to better results and a safer DIY experience.
Remove Headliner Board
Take Out Trim and Accessories
Removing the headliner board begins with taking out the trim and accessories that hold it in place. Most vehicles use a combination of plastic trim panels, dome lights, sun visors, grab handles, and sometimes weatherstripping to secure the headliner. Each component must come off before the board can be removed.
- Identify all trim panels around the headliners edge. These panels often cover the seams where the headliner meets the roof and pillars.
- Use a trim removal tool to gently pry each panel away from the vehicles body. Apply steady pressure to avoid breaking clips or damaging the trim.
- Remove dome lights, sun visors, and grab handles. Most of these accessories attach with screws. A screwdriver works best for this step.
- Store all screws, clips, and small parts in a labeled container. This organization prevents loss and confusion during reinstallation.
- Use a flashlight to check for hidden fasteners or clips. Some vehicles hide screws behind plastic covers or fabric flaps.
Tip: Work slowly and keep track of each part. Rushing can lead to broken trim or lost hardware.
A trim removal tool, screwdriver, and flashlight are the most effective tools for this stage. These tools help prevent scratches and make the process smoother.
Detach Headliner Board
After removing all trim and accessories, the headliner board becomes accessible. This step requires patience and attention to detail.
- Inspect the perimeter of the headliner board for screws or clips. Remove each one carefully.
- Gently lower the headliner board. Watch for any wires attached to dome lights or other accessories. Disconnect these wires before fully removing the board.
- Peel away the headliner fabric from one corner. Loosen any adhesive that holds the fabric in place.
- Use a bristle brush or light sandpaper to dislodge stubborn fabric or foam from the boards surface.
“My headliner had 5 metal rings that needed removal by prying up locking tabs. The problem with most headliner is separation between the fabric and foam. First, remove the fabric and discard. If your foam is stuck on your headliner board (like mine) – you get the tedious task of scrapping it off. I used a flat rasp and scrubbed/scraped the foam and glue residue off. I truly believe that the more meticulous/anal you are about this, the longer your end product will last ;)”
Many beginners find that old foam and glue stick to the board. Scraping off this residue takes time but ensures the new fabric adheres properly. A flat rasp or scraper can help with this task.
Note: The more thoroughly the board is cleaned, the better the final result. Patience during this step pays off with a smoother, longer-lasting headliner.
Once the board is free of fabric and residue, it is ready for the next stage: installing new headliner fabric. Proper removal and cleaning set the foundation for a professional-looking finish.
Remove Old Automotive Headliner Fabric
Peel Off Fabric
Removing the old automotive headliner fabric marks a crucial step in the restoration process. Most vehicles feature fabric glued to a lightweight board, often with a layer of foam underneath. Over time, heat and moisture cause the adhesive and foam to break down, resulting in sagging or peeling.
Start by gently pulling the headliner fabric away from one corner of the board. Use slow, steady movements to avoid tearing the board. Many users find that a drill brush helps loosen old glue, although stubborn adhesive may require extra effort. Some prefer a wire wheel to remove the residual felt backer, but caution is necessary to prevent damage to the plastic surface. Sanding also works for delicate boards, especially when the material feels flimsy.
- Begin at the edge and work toward the center.
- Use a utility knife to cut sections if the fabric resists removal.
- Avoid harsh scraping to preserve the integrity of the board.
Tip: Always wear gloves during this step to protect hands from sharp edges and adhesive residue.
After peeling off the automotive headliner fabric, inspect the board for leftover foam or glue. Removing all remnants ensures a smooth surface for the new headliner fabric.
Environmental and health considerations play a role in disposal. Old adhesives, especially those containing polyvinyl acetate, require careful handling. While most adhesives are non-hazardous, their monomers can harm aquatic life and pose fire risks. Always follow local regulations when disposing of old fabric and adhesive materials to prevent environmental contamination.
Clean Headliner Board
Cleaning the headliner board prepares it for the installation of new automotive headliner fabric. A clean surface allows the adhesive to bond properly and prevents future sagging.
Gather cleaning materials before starting:
- Stiff-bristled brush
- Upholstery cleaner
- Wet vacuum or spot cleaner
- Latex or nitrile gloves
- Soft-bristle upholstery brush
- Microfiber towels
- Fabric cleaner or interior detailer
- Spray bottle
- Interior detailing brush or swab
Follow these steps for thorough cleaning:
- Prepare all cleaning tools and agents.
- Scrub the board gently with a stiff-bristled brush to remove foam and debris.
- Apply upholstery cleaner using a spray bottle. Spray onto the brush or towel, not directly onto the board.
- Use small, circular motions to lift grime and adhesive residue.
- Employ a wet vacuum or spot cleaner to extract dirt from stubborn areas.
- Blot away excess moisture with a dry microfiber towel.
- Allow the board to air-dry for at least 24 hours in a well-ventilated space.
Note: Always perform a spot test with any cleaner to ensure compatibility with the board material.
A soft-bristle upholstery brush loosens debris without damaging the surface. Microfiber towels lift grime and prevent lint buildup. Choose a fabric cleaner formulated for automotive headliner fabric to avoid damage. Interior detailing brushes reach tight spots and help maintain an even cleaning process.
Proper cleaning ensures the new headliner fabric adheres smoothly and lasts longer. Patience during this stage leads to a professional finish and reduces the risk of future problems.
Install New Automotive Headliner Fabric
Cut and Fit Fabric
Accurate cutting and fitting of new fabric ensures a professional finish for any car headliner project. The installer should measure the headliner board carefully before cutting. Extra fabric helps cover additional areas and allows for adjustments during installation. Many professionals recommend ordering more material than the measured size.
A table below outlines best practices for cutting and fitting headliner fabric:
| Step/Method | Description |
|---|---|
| Preparation | Order extra fabric for additional areas. |
| Securing Edges | Use tacks, adhesive, or metal plates to hold edges in place. A pneumatic staple gun can replace tacks. |
| Installation | Slip bows through listing, secure fabric at rear and front windows, and ensure tension is proper before final attachment. |
| Cutting | Cut around the rear window opening, leaving enough material for gluing. |
Installers should lay the fabric flat on a clean surface. They must align the pattern or grain with the car headliner board. Sharp scissors or a utility knife provide clean edges. Leaving a small border around the perimeter allows for easier adjustments and trimming later.
Tip: Always double-check measurements before making cuts. Mistakes can waste material and delay the project.
Apply Adhesive
Selecting the right adhesive is crucial for securing the new car headliner fabric. High-temperature spray adhesives work best for automotive interiors. These adhesives resist moisture, humidity, heat, and cold, ensuring a long-lasting bond.
The table below compares popular adhesive options:
| Adhesive Type | Drying Time | Strength Description |
|---|---|---|
| 3M? Headliner Adhesive | 30 to 60 minutes | Exceptional strength bonds heavyweight automotive headliners; resists moisture, humidity, heat, and cold. |
| 3M Headliner & Fabric Adhesive | 30 to 60 minutes | Creates a secure hold for bonding fabrics to non-porous materials; quick application with aerosol spray. |
Installers should spray adhesive evenly on both the headliner board and the back of the fabric. They must wait for the adhesive to become tacky, usually within a few minutes. Working in sections prevents premature drying and allows for precise placement.
Note: Always follow the manufacturers instructions for drying times and application methods.
Attach and Smooth Fabric
Attaching and smoothing the new car headliner fabric requires patience and attention to detail. Installers should start from the center of the board and work outward. This technique helps prevent bubbles and wrinkles.
A step-by-step approach improves results:
- Start from the center. Apply adhesive and smooth the fabric outward.
- Work in sections. Divide the car headliner area into smaller parts for easier management.
- Stretch the fabric continuously. Keep the material taut to avoid wrinkles.
- Trim the excess fabric. Cut away extra material, leaving a small border for adjustments.
Installers should press the fabric gently with their hands or a soft roller. They must check for air pockets and smooth out any imperfections as they go.
Trim Excess
After attaching the fabric, installers should trim any excess material. A utility knife or sharp scissors works best for this task. Leaving a small border around the edges allows for final adjustments during reinstallation. Careful trimming ensures the car headliner fits snugly and looks neat.
Tip: Always trim slowly and check alignment before making final cuts.
Avoid Wrinkles
Wrinkles can ruin the appearance of a car headliner. Installers should keep the fabric taut while smoothing it onto the board. Working in small sections helps maintain control. If wrinkles appear, gently lift the fabric and reapply it, smoothing from the center outward.
Callout: Patience and steady hands produce the best results. Rushing increases the risk of bubbles and creases.
A well-installed car headliner enhances the vehicles interior and provides lasting durability. Using quality materials like Faux Leathers Upholstery-Waterproof-Synthetic ensures easy cleaning and resistance to moisture. Proper installation techniques help maintain a smooth, wrinkle-free finish for years.
Reinstall and Finish
Refit Headliner Board
Reinstalling the headliner board marks a crucial stage in the process. A secure and professional finish depends on following a series of careful steps. First, the installer scrapes off any remaining foam and lays the replacement headliner fabric flat to prevent wrinkles. Next, they fold the fabric back to expose half of the board and apply a strong adhesive, such as contact cement or spray glue, to both the fabric and the board. After folding the other half of the fabric back, they repeat the adhesive application. Allowing the adhesive to dry according to the label instructions ensures a strong bond.
Once the adhesive sets, the installer cuts holes in the fabric for accessories using a hobby knife. Trimming excess fabric, leaving about half an inch, makes it easier to tuck around the board. The headliner board is then reinstalled under the car roof using clips. Checking for security at this stage helps prevent sagging or shifting later.
Tip: Always double-check the fit before securing the board. A snug fit reduces the risk of future issues.
Reattach Trim and Accessories
After the headliner board is in place, the installer focuses on reattaching trim and accessories. Accurate measurement before cutting prevents gaps and ensures a seamless look. Selecting the right type of trim for the vehicles interior helps avoid moisture damage and maintains durability. Addressing any imperfections in the mounting surfaces with shims or caulk creates a smooth finish.
Using the correct tools and fasteners, such as finishing nails or a nail gun, secures the trim and accessories. Precise miter and coping cuts result in clean joints, while caulking gaps and finishing with paint or stain add a polished touch. Planning each step and working methodically prevents mistakes and wasted materials.
Note: Rushing through installation often leads to misaligned trim or loose accessories. Careful planning and execution yield the best results.
Final Check
A thorough final inspection ensures the success of the headliner replacement. The installer checks for any damage, stains, or marks on the upholstery and trim. All interior panels and trim must be securely attached and properly aligned. Testing dashboard controls, including lights and the HVAC system, confirms that everything functions as intended. The installer looks for any new warning lights on the dashboard, which could indicate electrical issues.
The headliner itself receives close attention. It should be securely attached, free from wrinkles, and show no defects. A well-executed final check guarantees a professional finish and long-lasting results.
- Condition: Inspect for damage, stains, or marks.
- Fit and Finish: Confirm secure attachment and alignment of panels and trim.
- Functionality: Test dashboard controls and systems.
- Warning Lights: Check for new alerts on the dashboard.
- Headliner: Ensure proper installation without wrinkles or defects.
Callout: A careful final check protects the investment of time and effort, ensuring the vehicle interior looks and functions its best.
Tips and Troubleshooting
Faux Leathers Product Tips
Selecting Faux Leathers Upholstery-Waterproof-Synthetic for headliner replacement offers several advantages. The material resists water and stains, making it ideal for vehicles exposed to moisture. Users should measure the headliner board carefully before cutting the fabric. Extra material helps cover edges and allows for adjustments. High-temperature spray adhesive works best with Faux Leathers products. Applying adhesive evenly on both the board and the fabric ensures a strong bond. Stretching the fabric from the center outward prevents wrinkles and bubbles. Cleaning the surface before installation improves adhesion and extends the life of the replacement.
Tip: Always allow the adhesive to dry fully before reinstalling the headliner board. This step prevents sagging and ensures a professional finish.
A soft roller or clean hands help smooth the fabric. Regular inspection after installation keeps the headliner looking new. Faux Leathers materials clean easily with a damp cloth, so maintenance remains simple.
Common Mistakes
Beginners often encounter challenges during headliner replacement. The following list highlights frequent errors and ways to avoid them:
- Ignoring early signs of damage. Address loose corners and sagging spots promptly.
- Skipping surface preparation. Clean the board thoroughly for proper adhesion.
- Choosing the wrong adhesive. Use automotive-grade adhesive to withstand heat and moisture.
- Using low-quality headliner material. Select high-quality, foam-backed upholstery fabric.
- Rushing the repair process. Allow glue to dry completely before reassembly.
- Not removing interior fixtures properly. Use the correct tools to avoid damaging clips and panels.
- Reapplying fabric over damaged foam. Replace old foam to prevent lumps.
- Uneven stretching or wrinkles. Stretch fabric evenly from the center outward.
- Overusing pins, staples, or thumbtacks. Avoid these to protect the headliner board.
- Skipping regular checks after repair. Inspect for new sagging or damage.
Callout: Careful planning and attention to detail help prevent most mistakes during replacement.
Troubleshooting
Problems such as sagging, bubbles, or wrinkles may occur after headliner replacement. The table below outlines common issues and solutions:
| Issue | Cause | Solution |
|---|---|---|
| Sagging | Insufficient adhesive or wet glue | Reapply adhesive, allow full drying time |
| Bubbles | Air trapped during installation | Lift fabric, smooth from center outward |
| Wrinkles | Uneven stretching or excess material | Stretch fabric evenly, trim excess |
| Loose Edges | Poor adhesion at borders | Add adhesive, press edges firmly |
| Lumps | Old foam left under new fabric | Remove and replace foam before installation |
Regular inspection helps catch problems early. If sagging or bu
